I should thank Cross Stitcher, they usually put up a small column in every few pages on "step-by-step" Biscornu, or making your cards etc. Most of them are for the finishing of all sort of craft.
I dont have sewing machine, so finishing a small things don't really bothers me so i just sew it the way stitcher usually did when stitching a small cushion. So Peggy, this is how i did the finishing for the bookmark. :)
After you have stitched the pattern, backstitch a square around the design, using 2 strands of thread (mine is in pink).
Make another backstitch square, it need to be the exact size as the one with design on it. Trim the fabric, leaving enough allowance for you to stitch later.
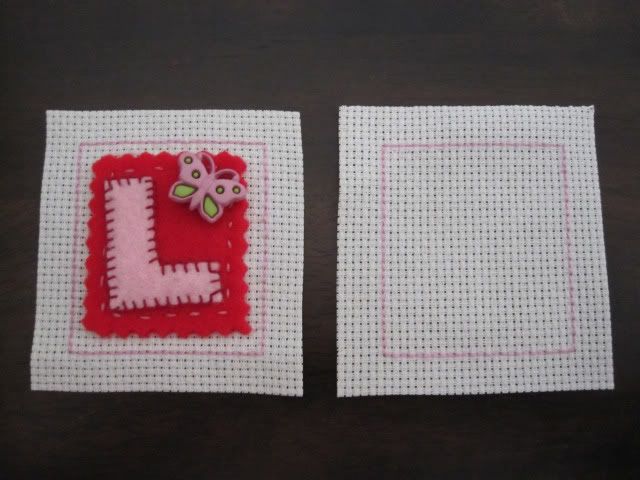
Fold and iron the excess fabric under along the backstitched edges.
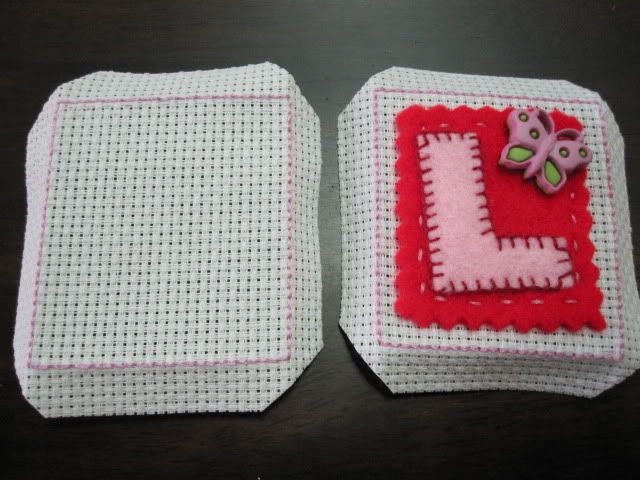
Attach the wrong side of the fabric/square together, and sew using two strands of floss. Sew up and down through the backstitched on both pieces of fabric, WITHOUT piercing the fabric itself. Sew around the square. And you are done! Here I'm making a small cushion, so i put some fiberfill inside the square.
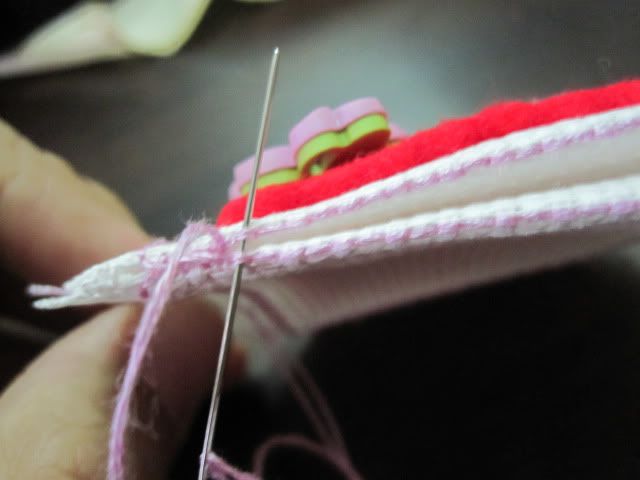
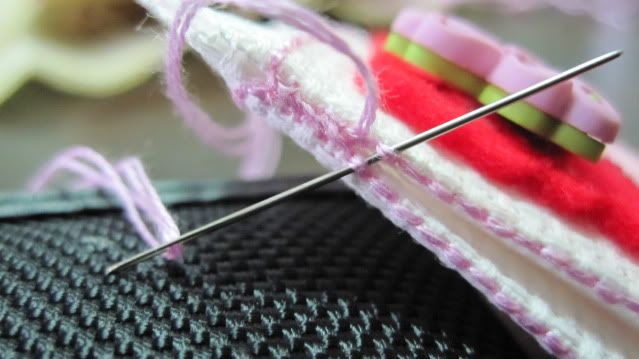
Voila! Small hanging cushion for my darling daughter, Laila Maisarah..:)
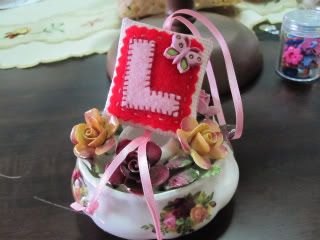
p.s : I still having problem on getting my photos to appear correctly, something wrong with the alignment...**sigh** :(((
Wow! Zai! I really appreciate this tutorial and so precise! I haven't been doing too much in cross stitch lately but I have a few small projects that I can use this technique on. Cross Stitcher is such a great magazine, although I haven't bought it for awhile, concentrating on my quilting. Thanks Zai for showing me more ways to be creative!
ReplyDeleteThat is a good write up. Will remember this the next time (yeah right) I do something similar. And I love what you have received from MW too.
ReplyDeleteHi Peggy, thank you for visiting :)
ReplyDeleteThank you Zarina :)
ReplyDelete